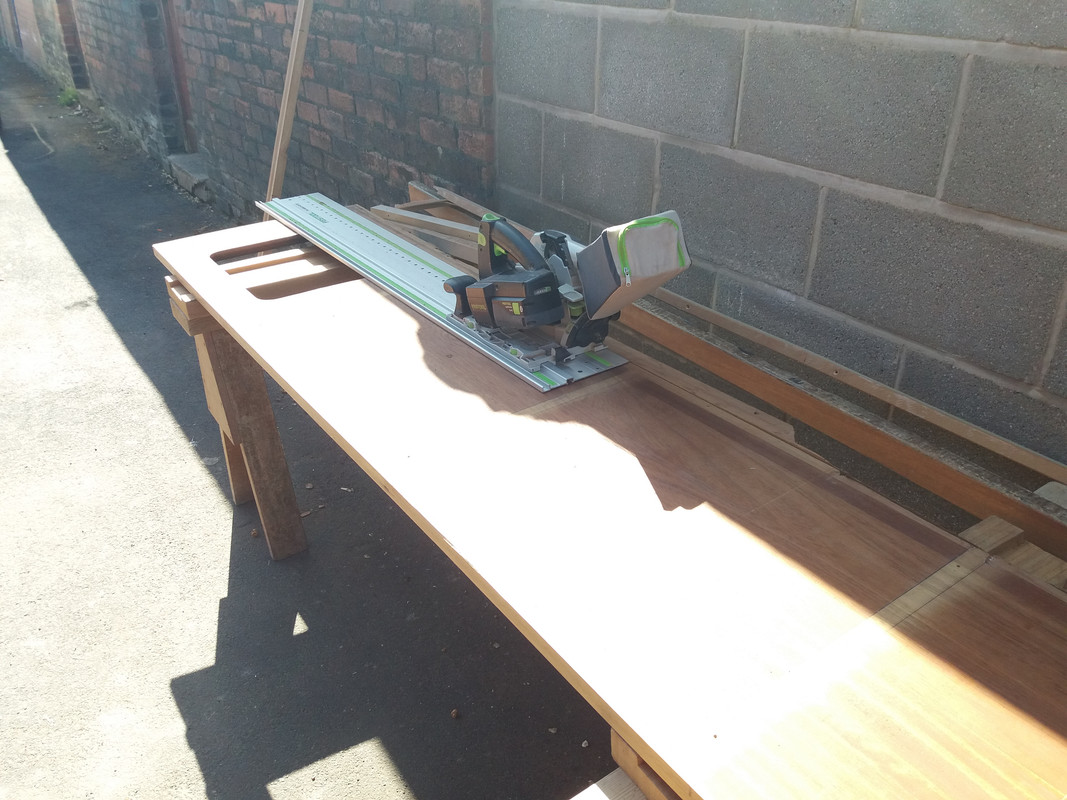
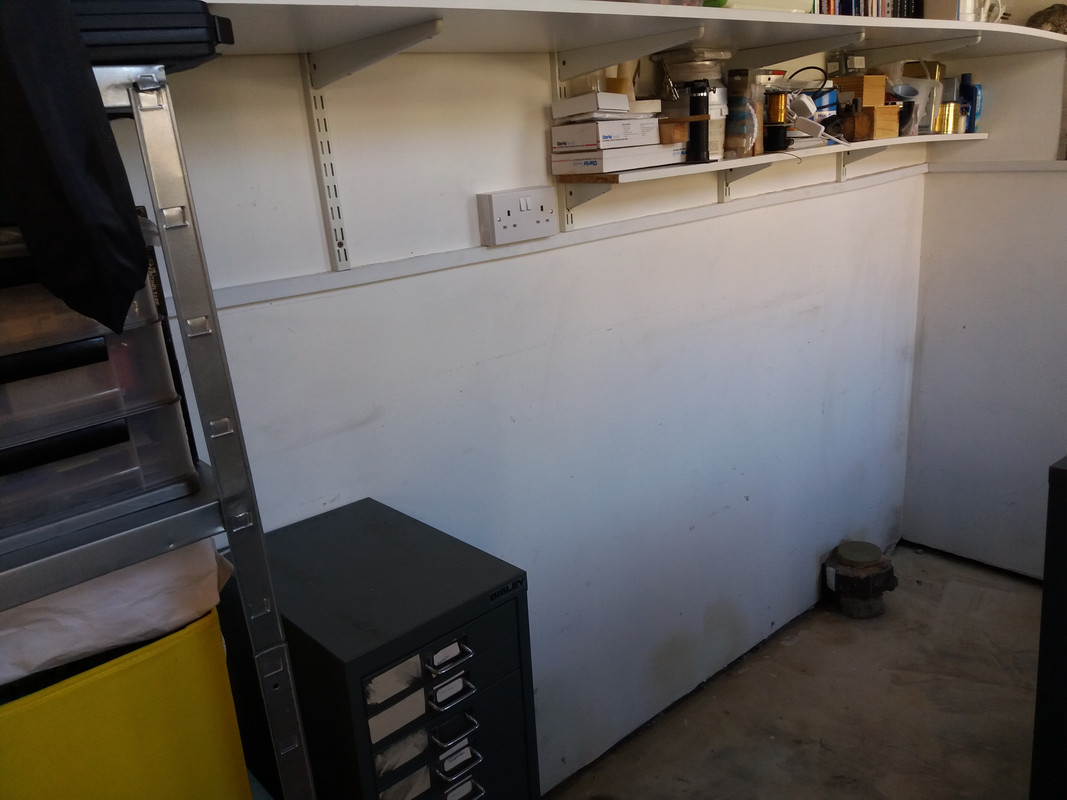
Well, my wife has been sorting her jewellery workshop/studio/my old shed the thieving git and as theres three windows but not a single window sill in there she asked me to sort some sills out.
I've had some hardwood that I took out of Longtown school changing rooms when it was being demolished.
Oddly enough one thing I noticed was that the benches in the girls changing rooms were far worse for scabbles, scratches and graffiti than the boys.
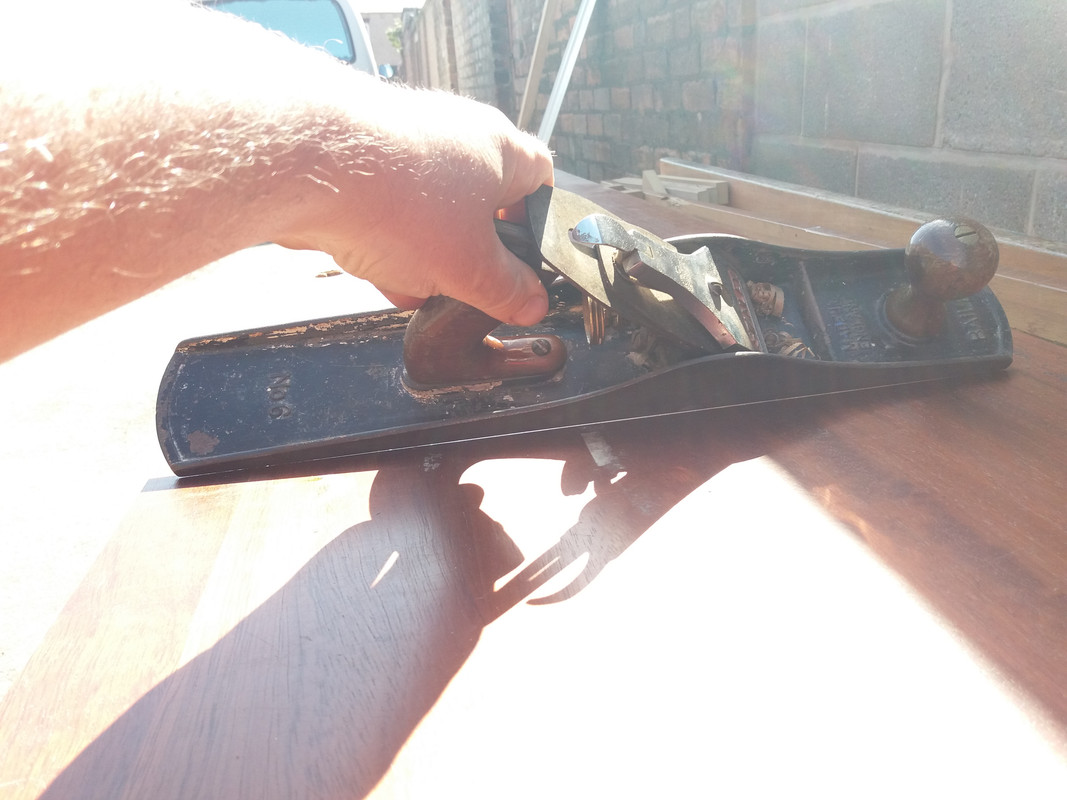
Anyway, I have loads of very scabbled hardwood so need to clean it up a bit, its going to be painted so I'm only bothered about cleaning the rough off it.
Starting on an eight foot board.
I've had a No 80 cabinet scraper for a while and only recently have I sharpened it to a 45 degree edge and had a go with it. Quite easy really, loosen the two screws at the front when its on a nice flat surface, let the blade drop down til it touches whatever its on (MDF is flat enough), tighten those back up and then tighten the rear screw up which bows the blade slightly, that way the corners dont dig into the work, more bend is a deeper cut.
Cleaned up, enough anyway. there's a few dings but as its just paint grade I can fill them later. Plus it's just a bleedin shed window board.
Normally I'd just use inch thick MDF for paint grade window boards but the builders merchants are shut, I'm not exactly flush right now and I have the wood cluttering the place up.
Might as well just put the time into it instead.
As the bench was 220mm and I only wanted the window board to be 170 mm deep (the actual reveal was about 140mm and I wanted it to stick about 30mm out) I cut it down then put a profile on both the top and bottom of the front edge with a bearing guided roundover bit, think this was a half inch radius but I can't remember for sure.
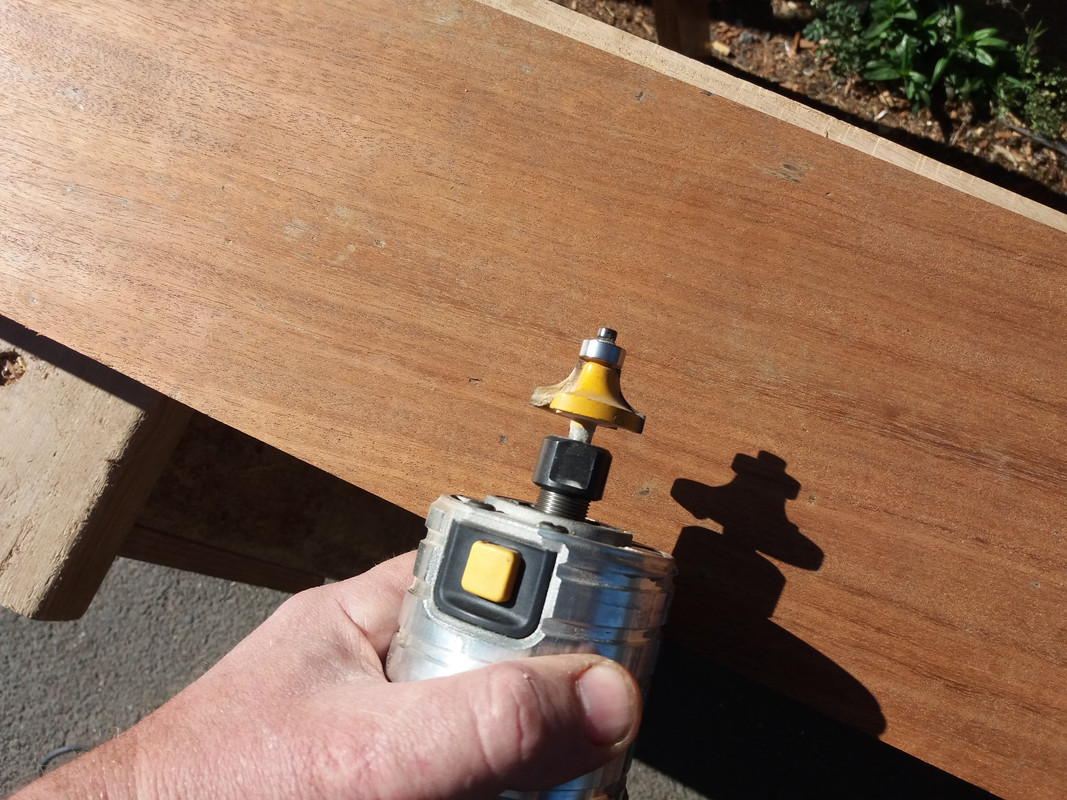
Then I usually do it in two cuts so I don't hammer the arse out of the cutters, first cut was slightly deeper than this but I forgot to take a photo at that stage so you'll bave to use your imagination, depoer bu5 not much.
Oh and while I'm on about it, one thing I've been doing for years with grinders, drills that have a chuck key and routers is I ziptie the chuck key/collet spanner, disc nut spanner onto the plug end of the powerlead.
This means in order to work on the spinny danger to my hands end I have to unplug it.
Just another thing to help me remember to work safe.
I also write on the plug what its for, helps me when there's masses of cables into a transformer at work.
By the way, none of this stuff is hard to do, the reason I'm putting these up is to show its pretty easy really.
I'll fire some more up tomorrow.
Oak tabletop for my granddaughter.
-
- Posts: 3028
- Joined: Mon Mar 16, 2020 9:30 pm
- Location: Less that 50 miles away from Moscow, but which one?
- Has thanked: 1346 times
- Been thanked: 1722 times
-
- Posts: 3028
- Joined: Mon Mar 16, 2020 9:30 pm
- Location: Less that 50 miles away from Moscow, but which one?
- Has thanked: 1346 times
- Been thanked: 1722 times
Re: Oak tabletop for my granddaughter.
Another item I got for virtually buggerall when Longtown secondary school was being demolished was this lab bench top with inset Belfast sink. Can't remember how much it cost for the lab bench top and the changing room benches cost but it can't have been more than fifty quid all in.
The lab top has been cluttering my place up for ages and Ive been wanting to put it into my wifes shed.
Anyway she's gone from being totally not arsed about moving things out the way so I could do it to "I want it in there NOW goddammit" so she finally cleared a space.
This is the lab bench, upside down while I measure it up and look how the sink went ( been a while since I had em together) and in the pic the sink is away from its inset hole.
Ive been told it might be teak but I really don't see teak enough to know, seems that a lot of lab tops were teak though? Here's a bit that hasn't had 40 years of sunlight, lab chemicals and maybe even a bit of stain. Natural colour is the lightest bit, anyone?
As it was a bit too deep (think it was about 600mm) for the limited space in her shed I used my guiderail saw to take some off the back and some off the front, its now 500mm deep.
Even though guiderail saws give a good finish I did the cut from the underside as my zero clearance strip on the rail is a bit worn.
It's not absolutely flat but its well within what I give a toss about and I'm not bothering to plane it flat.
Space it's got to go into, there's a waste pipe in the floor as this shed is knocked through from a wash house, a coal shed and the very end was an outside toilet. I blanked off the bog waste with a bit of plywood siliconed on to stop the smell ages ago so can use that for the sink.
I put a batten round the back and right side of the wall then a couple of legs down to the floor at the front (the floor will eventually have a different covering so they will get shortened at some point) and a shallow apron at the front to give it some rigidity. Oh and I knoxked up a frame for the belfast sink whixh was a numb bastard thing to get into place and siliconed to the underside of the worktop.
My wife plumbed the tap in and its one of those cold feed electric water beater things, its got power now but didn't then. Obviously as the top was on for 20 seconds she's got a couple of kilns on there, it's now covered in green hospital scrubs she's sewing up.
Oh and when I was at the school demolition I made sure I got two spare sink covers, I might use the roughest one as a base for a small bench grinder/polisher cos if its set there it won't rattle round tbe bench when its running.
Here's the sink with one of the three covers I got although there is one of them that matches the grain rather better, I swapped it over after I realised that. And yeah, I know the cable goes through the bottom of the tap hole, just didn't then.
The tap is quite good though, it gives a digital display showing the temperature.
I have some gas taps to go with it but at the moment the shed doesnt have a gas pipe feed, not sure how bothered we are about that although I do have a town gas jewellery welder setup with an air compressor so might do it at some point.